Professional China PCB Assembly Online Services
Power supply circuit card assembly, often referred to as a power supply unit (PSU), is a critical component in any electronic device. It's responsible for converting the power from the source, typically a wall outlet, into usable power for the components inside the device. This article will delve into the intricacies of power supply circuit card assembly, its importance, and the process involved in its creation.

The power supply circuit card is essentially a printed circuit board (PCB) that houses the components responsible for the power regulation and distribution in an electronic device. It consists of a series of circuits that convert, regulate, and distribute electrical power.
The main components of a power supply circuit card include transformers, rectifiers, filters, and regulators. The transformer steps down the input voltage, the rectifier converts alternating current (AC) to direct current (DC), the filter smooths out the DC signal, and the regulator ensures a constant output voltage.
The power supply circuit card is crucial for the operation of electronic devices. It ensures that all components receive the correct voltage and current. Without it, components could receive too much or too little power, leading to malfunction or damage.
Moreover, a well-designed power supply circuit card can improve the efficiency of the device and reduce energy consumption. It can also protect the device from power surges and fluctuations, thereby enhancing the device's lifespan.
The Circuit Card Assembly (CCA) process for Power Supply PCBs involves multiple steps, each of which is crucial to the functionality and reliability of the final product. Below is a general overview of the process:
1. Design: The process begins with designing the power supply circuit. This involves determining the power requirements of the device, selecting the appropriate components, and creating a circuit layout using Computer-Aided Design (CAD) software. The design process also includes creating a Bill of Materials (BOM) which lists all the components needed for the assembly.
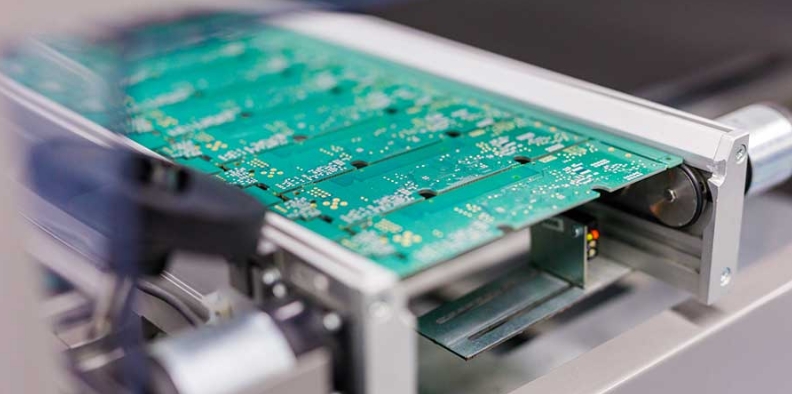
2. PCB Fabrication: Once the design is finalized, the PCB is fabricated. This involves transferring the circuit design onto a board, typically made of a material like FR4, which is a type of fiberglass. The board is then etched to remove excess copper, leaving behind the circuit traces. Holes are drilled for component leads and vias, and a solder mask is applied to protect the board and prevent solder bridges.
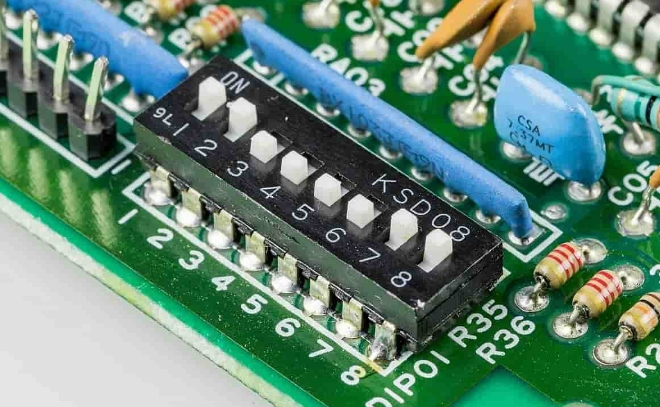
3. Component Procurement: Based on the BOM, all the necessary components are procured. This includes transformers, rectifiers, filters, regulators, capacitors, resistors, and any other components required for the power supply.
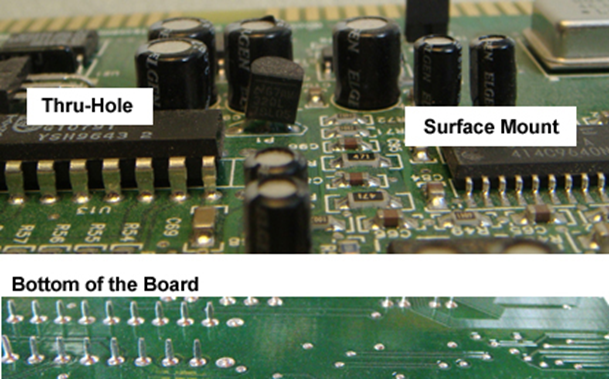
4. Assembly: The components are then mounted onto the PCB. This is typically done using a process called Surface Mount Technology (SMT) for smaller, surface-mount components, and Through-Hole Technology (THT) for larger components. The components are soldered onto the board to ensure a strong electrical connection.
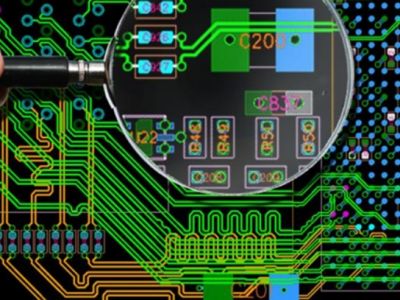
5. Inspection: After assembly, the board is inspected for any potential issues. This can be done manually or using Automatic Optical Inspection (AOI) or X-Ray inspection systems. The inspection process checks for issues like missing or misaligned components, solder bridges, or poor solder joints.
6. Testing: The assembled board is then tested to ensure it functions correctly. This can involve power-up tests, in-circuit tests, functional tests, and burn-in tests. The testing process verifies that the power supply operates as expected under various conditions.
7. Packaging and Delivery: Once the boards pass all tests, they are packaged and delivered to the client or moved to the next stage of production if they are part of a larger assembly.
Each step in the CCA process for Power Supply PCBs requires a high level of precision and expertise to ensure the power supply operates correctly and reliably. Mistakes at any stage can lead to issues with the power supply's performance, so quality control is paramount throughout the process.
Power Supply Circuit Card Assemblies (PSCCAs) come in various types, each designed to meet specific power requirements and applications. Here are some of the most common types:
1. Linear Power Supplies: These are the simplest and oldest type of power supplies. They use a transformer to step down the input voltage to a lower level. This lower voltage is then converted to DC using a rectifier and filtered to remove any AC components. Despite their simplicity, linear power supplies are large, heavy, and less efficient compared to other types.
2. Switching Power Supplies: These are more complex than linear power supplies but are more efficient and smaller in size. They work by rapidly switching a series of transistors on and off, which effectively transforms and regulates the input voltage. The high-frequency switching can introduce electrical noise, but this can be mitigated with proper filtering and shielding.
3. Uninterruptible Power Supplies (UPS): These are designed to provide power to a device in the event of a power outage. They contain a battery that is charged when power is available. If the power goes out, the UPS switches to battery power almost instantaneously, allowing the device to continue operating without interruption.
4. Programmable Power Supplies: These are used in applications where the voltage and current need to be adjusted frequently or according to a specific program. They are often controlled by a computer and can provide a wide range of output voltages and currents.
5. Multi-output Power Supplies: These are designed to provide more than one output voltage. For example, a computer power supply might provide +12V for the disk drives, +5V for the logic circuits, and +3.3V for the processor. Each output can be regulated independently.
6. DC-DC Converters: These are used to convert one DC voltage level to another. They are often used in battery-powered devices, where the battery voltage might not match the voltage required by the device's components.
Each type of power supply circuit card assembly has its own advantages and disadvantages, and the choice between them depends on the specific requirements of the device and application.
Designing a power supply circuit board (PCB) requires careful consideration of various factors to ensure the board operates efficiently, reliably, and safely. Here are some key design considerations for power supply PCBs:
1. Power Requirements: The first step in designing a power supply PCB is to understand the power requirements of the device it will power. This includes the voltage and current requirements, as well as any specific requirements for ripple, noise, and transient response.
2. Component Selection: Choosing the right components is crucial. This includes selecting the appropriate transformer, rectifier, filter, and regulator for the power supply. The components should be able to handle the power requirements of the device and operate efficiently under the expected conditions.
3. Thermal Management: Power supplies generate heat, especially when operating at high currents. Therefore, it's important to design the PCB with proper thermal management in mind. This may involve using heat sinks, thermal vias, and ensuring adequate airflow around components.
4. Safety Considerations: Safety is a critical aspect of power supply design. This includes providing proper insulation and clearance between high-voltage components, incorporating protection features such as fuses and overvoltage protection, and ensuring the power supply complies with relevant safety standards.
5. EMI and Noise Reduction: Power supplies can generate electromagnetic interference (EMI) and noise, which can affect the performance of the device. Design techniques such as proper grounding, the use of decoupling capacitors, and careful layout of the PCB can help reduce EMI and noise.
6. PCB Layout: The layout of the PCB can have a significant impact on the performance of the power supply. This includes the placement of components, the routing of power traces, and the separation of analog and digital grounds. A well-designed PCB layout can improve efficiency, reduce noise, and increase the reliability of the power supply.
7. Reliability and Longevity: The power supply is often the part of the device that is most susceptible to failure, so it's important to design it with reliability and longevity in mind. This may involve using high-quality components, providing adequate protection against overvoltage and overcurrent conditions, and ensuring the power supply can handle variations in the input power source.
By carefully considering these factors during the design process, you can create a power supply PCB that meets the needs of your device and operates reliably for a long time.
Testing and troubleshooting are critical stages in the development of Power Supply PCBs. They ensure the functionality, reliability, and safety of the power supply units. Here's an overview of the testing and troubleshooting process:
Testing is performed to verify that the power supply unit functions as intended. Here are some typical tests:
1. Visual Inspection: This is the first level of testing where the PCB is inspected for any obvious issues such as missing or improperly placed components, solder bridges, or physical damage.
2. Power-Up Test: In this test, power is applied to the unit to see if it powers up as expected without any unusual noises, sparks, or smoke.
3. Voltage and Current Output Test: This test verifies if the power supply is providing the correct voltage and current levels as per its specifications.
4. Ripple and Noise Test: This test checks for any unwanted AC voltage (ripple) or high-frequency noise present in the DC output of the power supply.
5. Efficiency Test: This test measures how efficiently the power supply converts the input power to the output power.
6. Load Test: This test checks the power supply's ability to handle its maximum rated load and how it performs under different load conditions.
7. Thermal Test: This test checks the power supply's heat generation and dissipation under various operating conditions.
8. Safety Tests: These tests check for any safety issues such as short circuits, overvoltage, overcurrent, or overheating.
If a power supply fails any of the tests, troubleshooting is performed to identify and rectify the issue. Here are some common troubleshooting steps:
1. Identify the Problem: The first step is to clearly identify the problem. This could be anything from the unit not powering up, outputting incorrect voltage or current, overheating, or any other unexpected behavior.
2. Check the Components: The next step is to check the individual components. This could involve visually inspecting for damaged components, using a multimeter to check for open or short circuits, or using an oscilloscope to check the waveforms at different points in the circuit.
3. Check the Connections: The solder joints and connections between the components are checked to ensure they are properly made and there are no loose connections or solder bridges.
4. Check the Design: If the components and connections are fine, the problem could be with the design itself. It's important to revisit the design and ensure that all specifications and requirements have been correctly implemented.
5. Rectify the Issue: Once the problem has been identified, the next step is to rectify it. This could involve replacing faulty components, re-soldering loose connections, or even redesigning parts of the circuit if necessary.
Testing and troubleshooting are iterative processes that continue until the power supply unit functions perfectly as per its specifications. They require a deep understanding of electronics, attention to detail, and a systematic approach to problem-solving.
In conclusion, the power supply circuit card assembly plays a critical role in the operation of electronic devices. It ensures the device receives the correct voltage and current, improving efficiency and protecting the device from power surges and fluctuations. The assembly process, involving design, fabrication, assembly, and testing, requires a high level of precision and expertise to ensure the power supply circuit card functions correctly. As technology continues to advance, the design and assembly of power supply circuit cards will undoubtedly become even more complex and crucial.