Professional China PCB Assembly Online Services
Making a high-frequency printed circuit board (PCB) requires careful consideration of various factors to ensure that the board can handle high-frequency signals with minimal signal loss and interference. Here are the general steps and considerations for designing and manufacturing a high-frequency PCB:

1.Design Phase:
Select Appropriate Materials: High-frequency PCBs typically use specialized materials with low dielectric constants (e.g., PTFE-based materials like Rogers 4003C or FR-4 with high-frequency variants). These materials minimize signal loss and maintain consistent impedance.
Layer Stackup: Determine the layer stackup, including the number of layers and their order. High-frequency designs may require controlled impedance layers.
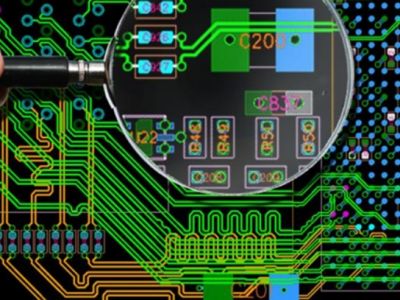
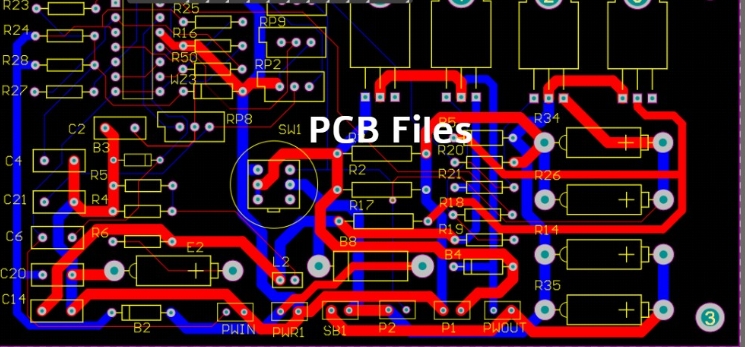
Trace Geometry: Design controlled impedance transmission lines with specific trace widths, separations, and impedance values according to the desired frequency range. Use a PCB design software tool like Altium, Eagle, or KiCad.
Ground Planes: Ensure proper ground plane placement and minimize split ground planes to reduce ground loops and interference.
Component Placement: Place components carefully to minimize signal path lengths, avoid signal crosstalk, and maintain signal integrity.
Via Design: Use high-frequency PCB vias, such as blind or buried vias, to connect different layers while maintaining signal integrity.
2.Material Selection:
Choose high-quality, low-loss substrate materials specifically designed for high-frequency applications.
3.Copper Foil Selection:
Select thinner copper foils with consistent thickness to minimize skin effect losses at high frequencies.
4.Etching:
Use a controlled and precise etching process to create the PCB traces. Maintain tight tolerances to ensure accurate impedance control.
5.Drilling and Plating:
Drill holes carefully, and use appropriate plating techniques to ensure good electrical connectivity.
6.Soldermask and Silkscreen:
Apply soldermask to protect the traces and prevent solder bridges. Include necessary silkscreen markings for component placement.
7.Quality Control:
Perform electrical testing, such as impedance testing and signal integrity analysis, to ensure the board meets high-frequency requirements.
8.Grounding and Shielding:
Properly ground the PCB and use shielding techniques (e.g., ground planes, copper pours, shielding cans) to reduce electromagnetic interference (EMI).
9.Component Selection:
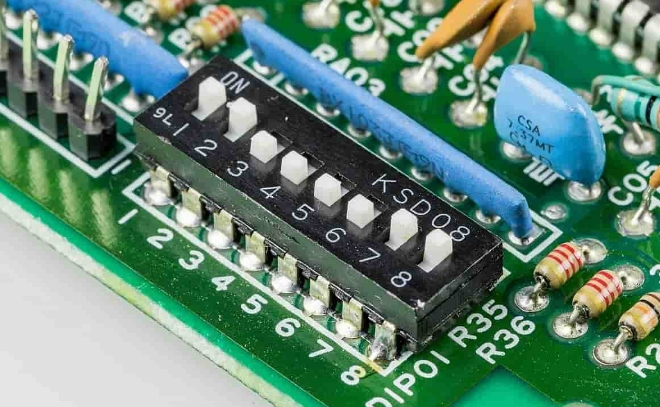
Choose components specifically designed for high-frequency applications, including connectors, capacitors, and inductors.
10.Assembly and Soldering:
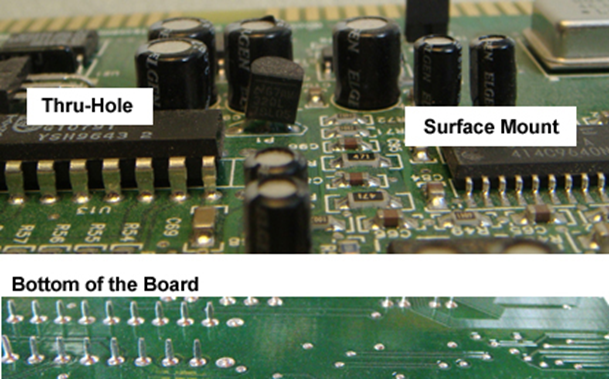
Use surface mount technology (SMT) for components to minimize parasitic capacitance and inductance.
Employ controlled soldering processes with strict temperature control.
11.Testing and Validation:
After assembly, perform rigorous testing, including signal integrity, impedance matching, and EMI testing, to validate the board's performance at high frequencies.
12.Documentation:
Create detailed documentation that includes the PCB layout, component placement, stackup information, and any special design considerations.
13.Production:
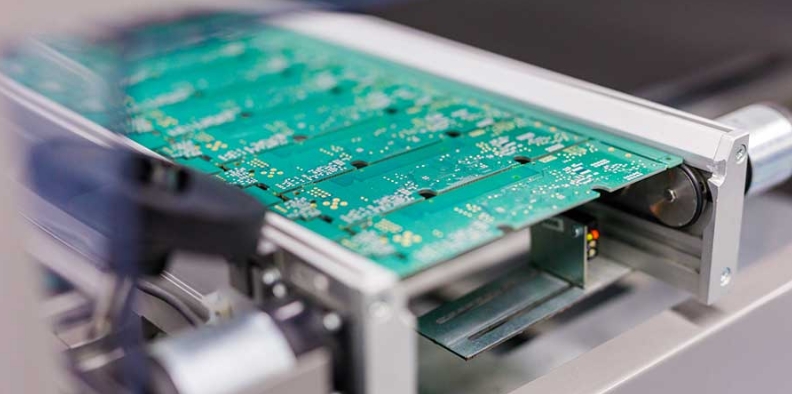
Work with a reliable PCB manufacturer with experience in high-frequency PCB fabrication.
14.Iterate and Optimize:
Continuously refine your high-frequency PCB design and fabrication processes based on testing and real-world performance.
Keep in mind that designing and manufacturing high-frequency PCBs can be complex, and it often requires specialized knowledge and tools. Collaboration with experienced engineers and PCB manufacturers with expertise in high-frequency applications is advisable to ensure the success of your project.
Get more knowledge about How do you make high frequency PCB please refer to :https://www.rigaopcb.com/high-frequency-pcb