Professional China PCB Assembly Online Services
High-Density Interconnect (HDI) PCB manufacturing involves several steps to produce complex and compact circuit boards with high circuit density. Here are the general steps involved in HDI PCB manufacturing:

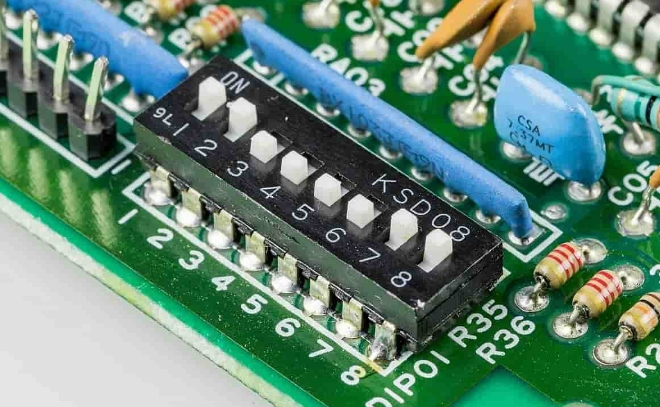
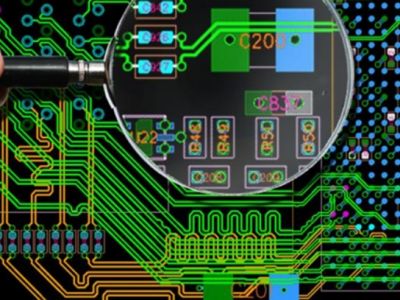
Design and Layout: The first step is to design the PCB layout using computer-aided design (CAD) software. The layout includes the placement of components, routing of traces, and defining the stack-up structure.
Material Selection: Selecting the appropriate materials is crucial for HDI PCBs. High-performance substrates, such as high-Tg (glass transition temperature) materials, are chosen to withstand high temperatures during assembly and operation.
Laser Drilling: HDI PCBs use laser drilling technology to create small-diameter vias and microvias. Laser drilling provides precise and accurate hole placement, allowing for increased circuit density.
Electroless Copper Deposition: After laser drilling, the PCB is coated with a thin layer of electroless copper to create conductive pathways within the vias and microvias. This step ensures proper electrical connectivity between different layers of the PCB.
Imaging and Etching: A photosensitive material called a dry film is applied to the PCB surface. The film is exposed to UV light through a photomask, which transfers the circuit pattern onto the PCB. The exposed areas are then etched away, leaving behind the desired circuit traces.
Plating: Copper plating is performed to increase the thickness of the circuit traces and vias. This step involves electroplating copper onto the PCB surface, including the inner walls of the vias, to enhance electrical conductivity.
Solder Mask Application: A solder mask is applied to the PCB surface, except for the areas where components will be soldered. The solder mask protects the copper traces from oxidation and provides insulation.
Surface Finish: The PCB's surface finish is applied to protect the exposed copper and facilitate soldering. Common surface finishes for HDI PCBs include immersion gold, immersion silver, and electroless nickel immersion gold (ENIG).
Testing and Inspection: HDI PCBs undergo rigorous testing and inspection to ensure their functionality and quality. Various tests, such as electrical testing, impedance testing, and visual inspection, are performed to verify the integrity of the PCB.
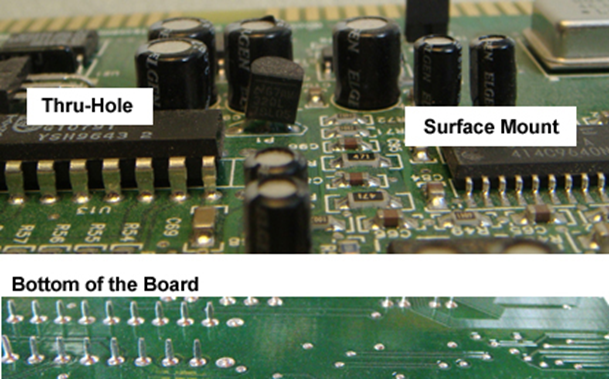
Assembly: Once the HDI PCBs pass the testing phase, they are ready for component assembly. Surface mount technology (SMT) is commonly used for HDI PCB assembly due to its compatibility with small-sized components.
Final Testing: After component assembly, the HDI PCBs undergo final testing to ensure that all components are properly soldered and functioning correctly. Functional testing and quality control measures are performed to validate the performance of the assembled PCB.
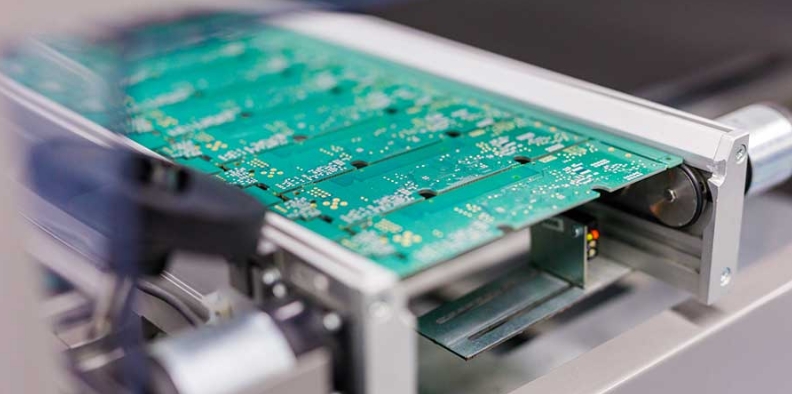
Packaging and Shipping: The final step involves packaging the HDI PCBs for protection during transportation. The PCBs are carefully packed and shipped to their intended destinations.
It's important to note that the specific steps and processes involved in HDI PCB manufacturing may vary depending on the manufacturer and the specific requirements of the project.
Get more knowledge about Steps involved in HDI PCB manufacturing please refer to Rigaopcb:https://www.rigaopcb.com/